Table des matières:
- Étape 1: VİDALARI SÖKÜYORUZ
- Étape 2: ALT BÖLMEYİ NCELİYORUZ
- Étape 3: ÇERÇEVEYİ ANA EKRANDAN AYIRIYORUZ
- Étape 4: ARKA BÖLMEYİ ÇIKARTIYORUZ
- Étape 5: USB KORUMA APARATINI ÇIKARTIYORUZ
- Étape 6:
- Étape 7: ANA EKRAN TUŞU BAĞLANTI KABLOSU
- Étape 8:
- Étape 9: ÜST BÖLMEYİ NCELİYORUZ
- Étape 10: YAKINLIK VE HAREKET SENSÖRÜNÜ NCELİYORUZ
- Étape 11: ÜST BÖLMEYİ SÖKÜYORUZ
- Étape 12: KAMERAYI SÖKÜYORUZ
- Étape 13: ARKA ANA BÖLMEYİ NCELİYORUZ
- Étape 14: TİTREŞİM MOTORU
- Auteur John Day day@howwhatproduce.com.
- Public 2024-01-30 09:07.
- Dernière modifié 2025-01-23 14:46.

VİDEOYLA BİRLİKTE TAKİP EDEBİLİRİZ.
Étape 1: VİDALARI SÖKÜYORUZ
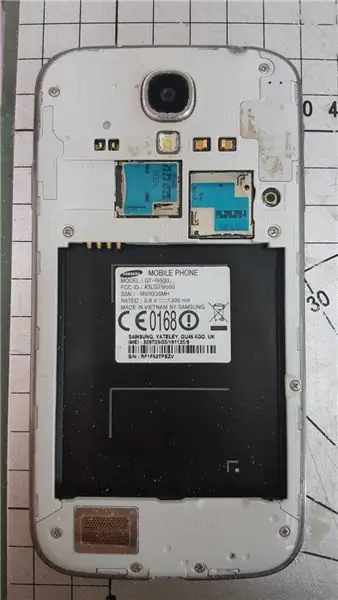
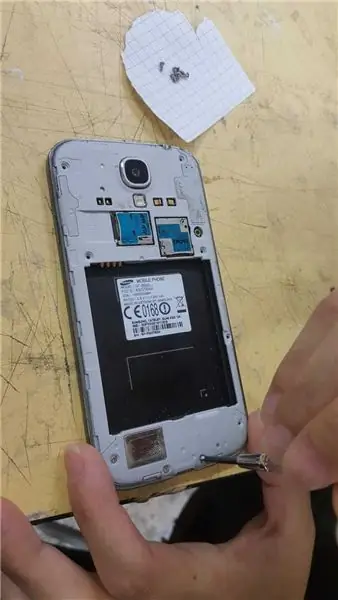
ARKA KAPAĞI ÇIKARIP NCE TORNAVİDA YARDIMIYLA VİDALARI SÖKÜYORUZ
-BURADA HOPARLÖR, SİM KART VE MİCRO SD KART BÖLMELERİNİ GÖRÜYORUZ.
Étape 2: ALT BÖLMEYİ NCELİYORUZ
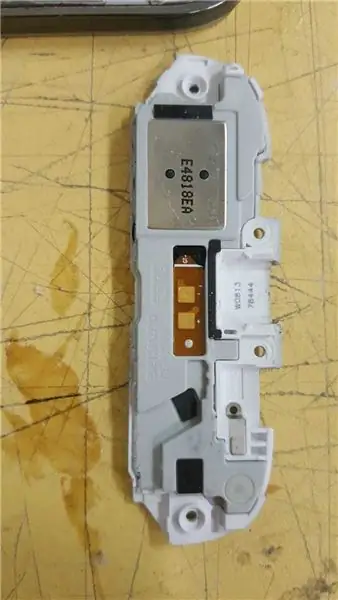
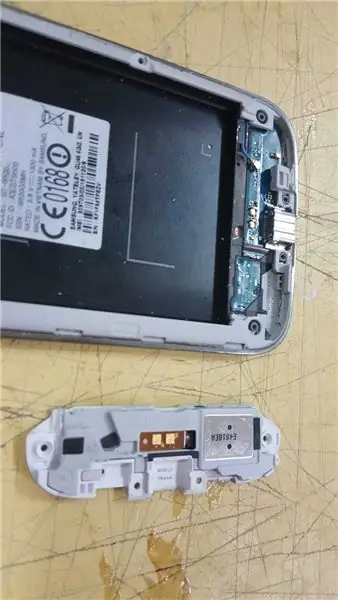
VİDALARI SÖKTÜKTEN SONRA ALTTAKİ APARATI BİR PLASTİK BIÇAK YARDIMIYLA YAVAŞÇA KALDIRIYORUZ.
-HOPARLÖR BAĞLANTISI, HAVALANDIRMA BURADAN SAĞLANIYOR.
-3G VE GSM ANTENİ BURADA BULNUYOR.
Étape 3: ÇERÇEVEYİ ANA EKRANDAN AYIRIYORUZ
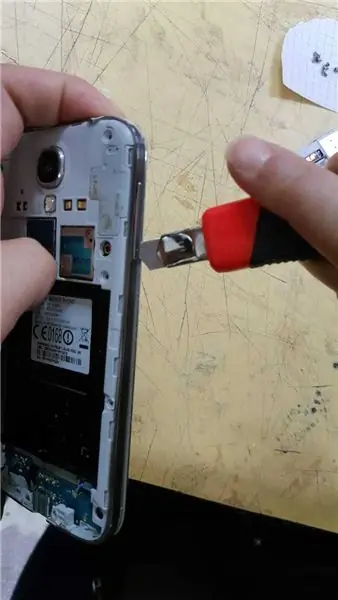
BİR FALÇATA YARDIMIYLA ÇERÇEVEYİ HAFİF BİR ŞEKİLDE ANA EKRANDAN AYIRIYORUZ.
Étape 4: ARKA BÖLMEYİ ÇIKARTIYORUZ
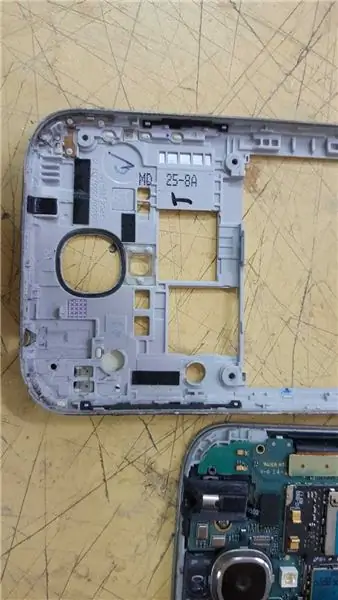
ÇERÇEVEYİ SÖKTÜKTEN SONRA ARKA BÖLME KOLAYCA ELİMİZE GELİYOR.
-BU BÖLMEDE KIZILÖTESİ LED BAĞLANTI KABLOSU, GPS ANTENİ, Wİ-Fİ VE BLUETOOTH ANTENİ KARŞIMIZA ÇIKIYOR.
Étape 5: USB KORUMA APARATINI ÇIKARTIYORUZ
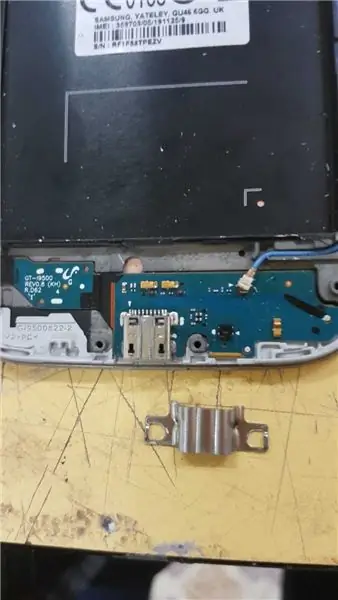
ARKA EKRANI ÇIKARDIĞIMIZDA KARŞIMIZA USB KORUMA APARATI ÇIKIYOR VE ONU DA ÇOK KÜÇÜK BİR HAMLEYLE YERİNDEN AYIRABİLİYORUZ.
Étape 6:
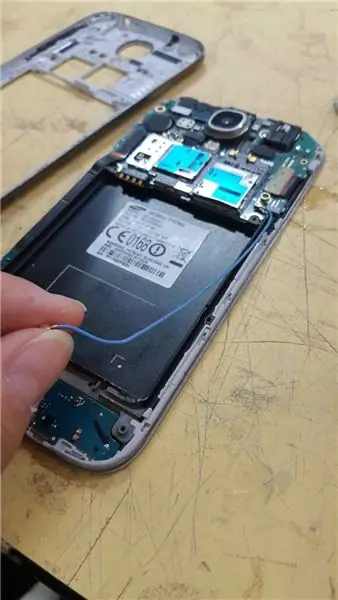
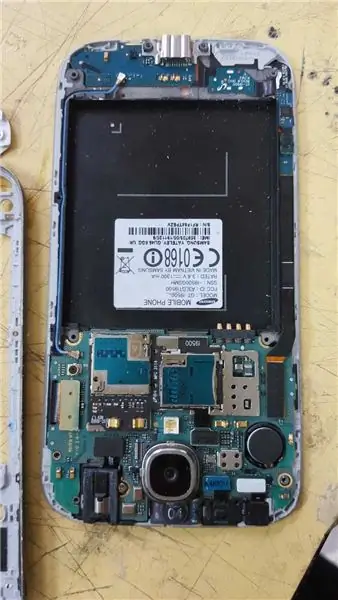
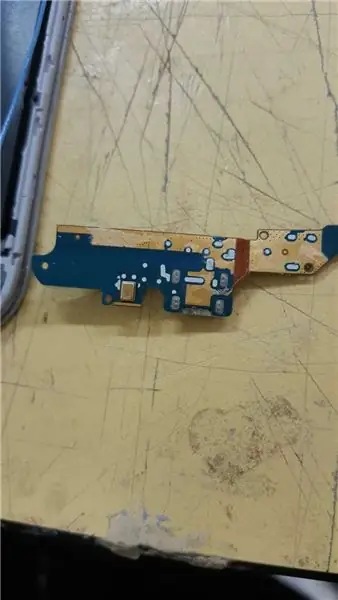
BURADA KULAKLIK SOKETİNİ, ANA EKRAN KABLOSUNU VE MAVİ UZUN KABLO OLAN 3G, GSM ANTENİ BAĞLANTI KABLOSUNU GÖZLEMLİYORUZ.
Étape 7: ANA EKRAN TUŞU BAĞLANTI KABLOSU
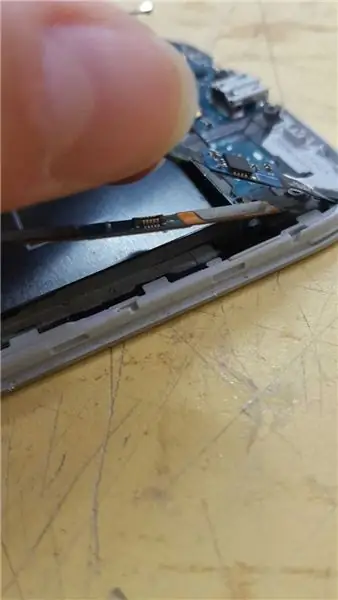
TELEFONUN SOL YANINDA ANA EKRAN TUŞUNUN VE DOKUNMATİĞİN ETKİLEŞİMİNİ SAĞLAYAN BAĞLANTI KABLOSUNU GÖRÜYORUZ.
Étape 8:
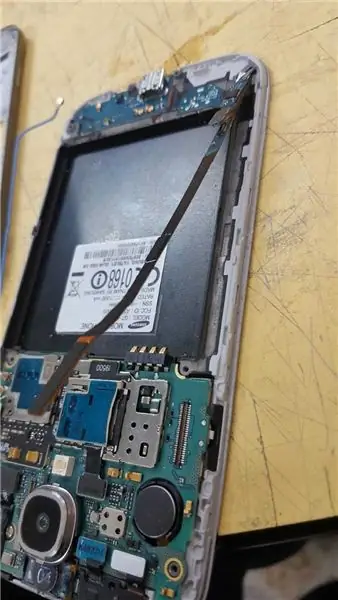
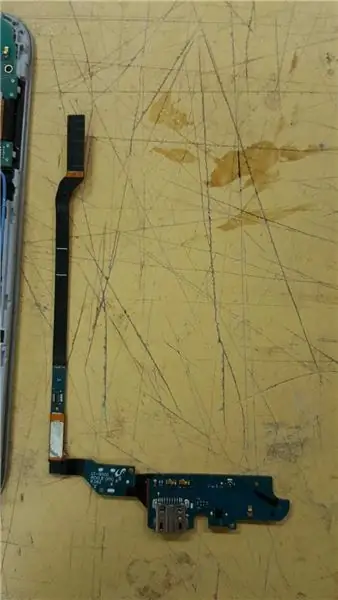
Étape 9: ÜST BÖLMEYİ NCELİYORUZ
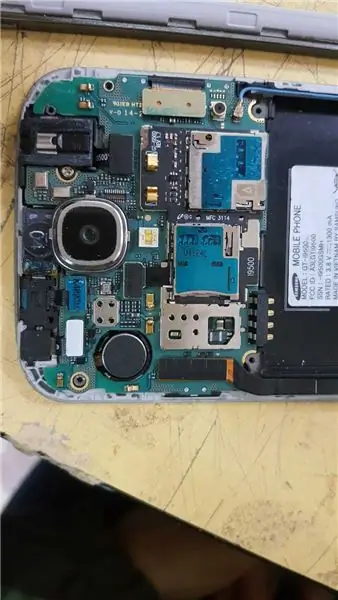
BURAYA GELDİĞİMİZDE N KAMERA, KULAKLIK VE YAKINLIK SENSÖRÜ BAĞLANTILARINI GÖZLEMLİYORUZ.
Étape 10: YAKINLIK VE HAREKET SENSÖRÜNÜ NCELİYORUZ
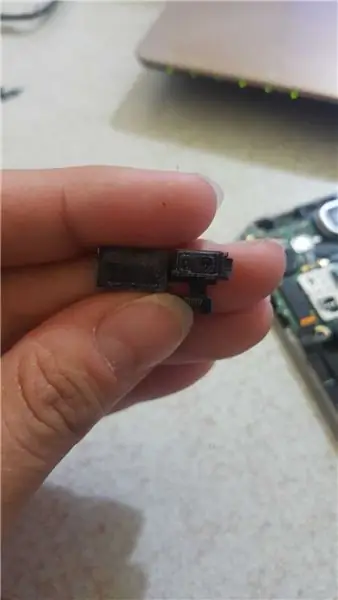
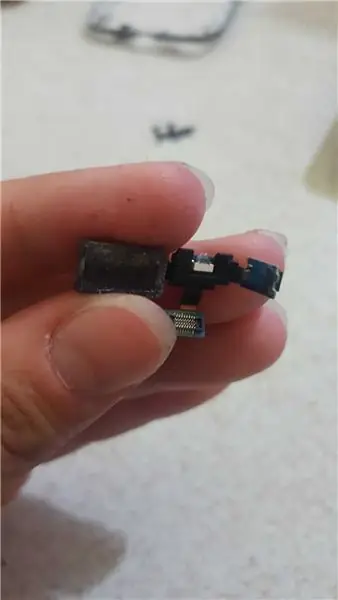
ÜST BÖLMEDEN KABLOSUNU ÇIKARTARAK VE PARÇALARA ZARAR VERMEYECEK YAVAŞLIKTA SENSÖRÜ YERİNDEN ÇIKARTIYORUZ. ÇERİSİNDE KIZILÖTESİ BİR LED BULNUUYOR.
Étape 11: ÜST BÖLMEYİ SÖKÜYORUZ
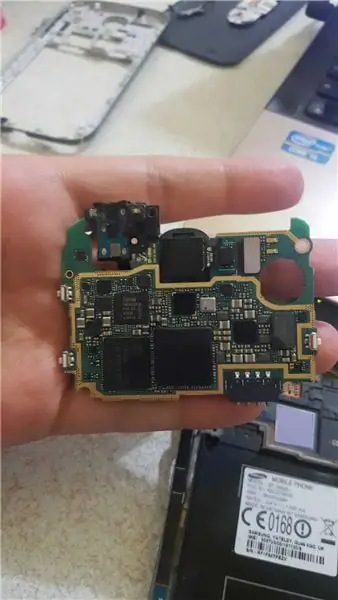
TÜM BAĞLANTI KABLOLARINI AYIRDIKTAN SONRA ST BÖLMEYİ YERİNDEN AYIRIYORUZ.
SOL YANDA İKİ TANE TUŞ GÖRÜYORUZ VE BU TUŞLAR SES ARTIRICI, SES AZALTICI OLARAK İŞLEV GÖRÜYOR.
SAĞ YANDA TEK BİR TANE EKRAN KİLİT ANAHTARI İŞLEVİNİ GÖRÜYOR.
Étape 12: KAMERAYI SÖKÜYORUZ
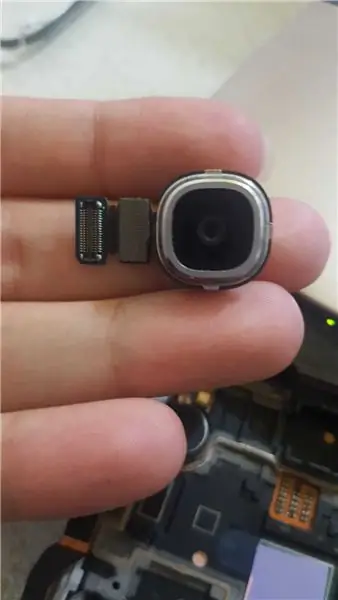
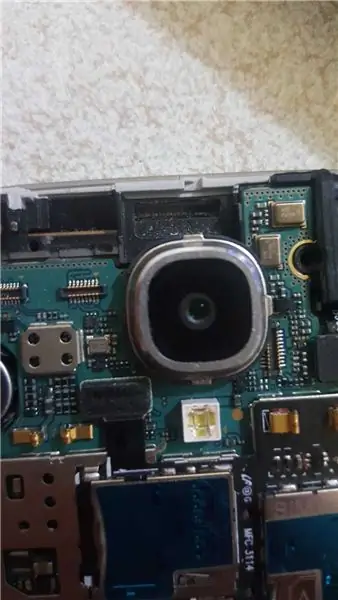
ÜST BÖLMEYLE BAĞLANTI KURDUĞU KABLOYU YERİNDEN ÇIKARIYORUZ VE YİNE SON APARATA DAVRANDIĞIMIZ GİBİ YAVAŞÇA KAMERAYI YERİNDEN AYIRIYORUZ.
Étape 13: ARKA ANA BÖLMEYİ NCELİYORUZ
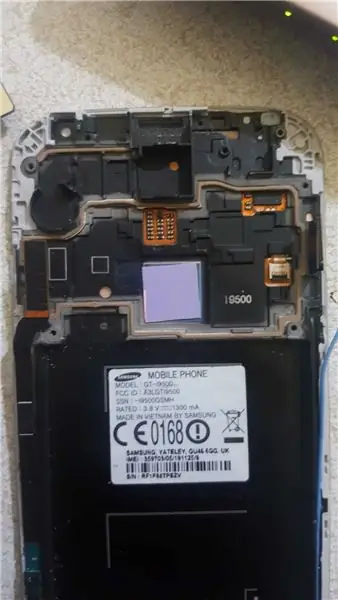
NÜMÜZDE GÖRDÜĞÜMÜZ MOR KARE ŞEKLİNDEKİ KAĞIT BENZERİ ŞEY LEMCİYLE BİRLİKTE ÇALIŞARAK SOĞUTUCU VE YAVAŞLATICI OLARAK İŞLEV GÖRÜYOR.
Étape 14: TİTREŞİM MOTORU
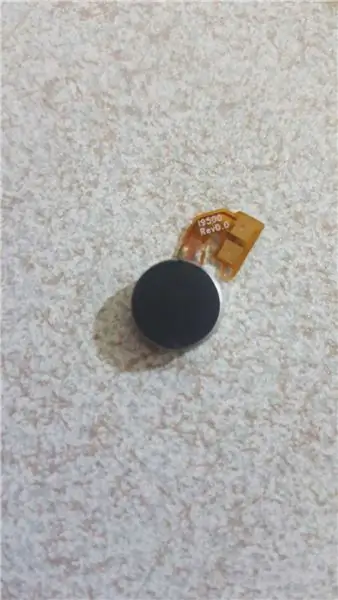
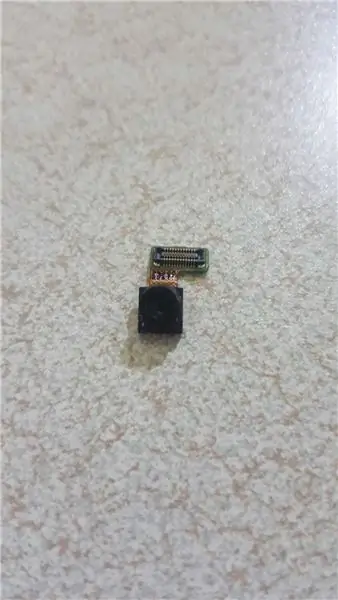
KABLOSUNU AYIRARAK TİTREŞİM MOTORUNU YERİNDEN ÇIKARTIYORUZ.
Conseillé:
Faire un modèle de démonstration de solénoïde robotique : 4 étapes
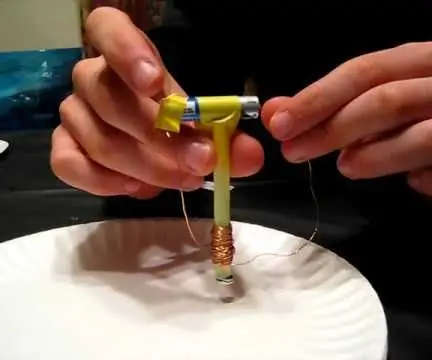
Faire un modèle de démonstration de solénoïde robotique : Les solénoïdes sont des bobines électromagnétiques enroulées autour d'un tube avec un piston métallique à l'intérieur. Lorsque l'électricité est allumée, la bobine magnétisée attire le piston et le tire vers l'intérieur. Si vous attachez un aimant permanent au piston, l'électroaimant
Démonstration du bras robotique Arbotix Reactor et de la Pixycam : 11 étapes
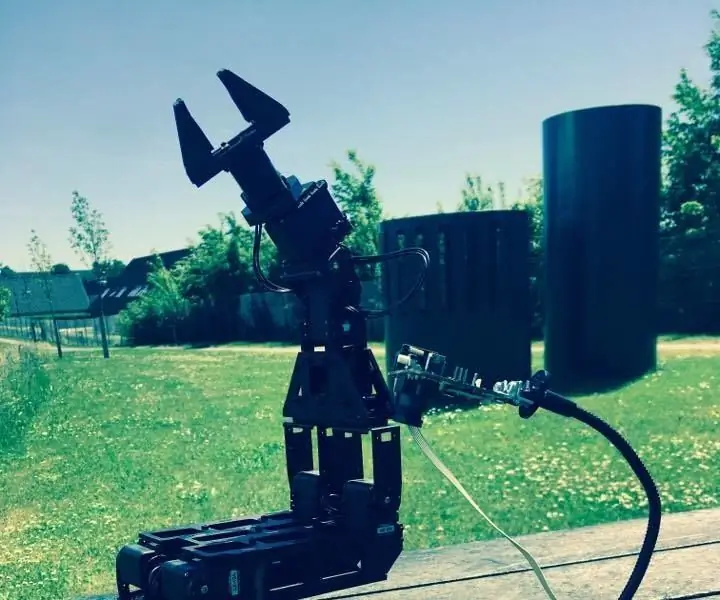
Démonstration du bras robotique Arbotix Reactor et de la Pixycam : Nous sommes 2 étudiants du collège UCN au Danemark. Nous avons été chargés de faire un impénétrable dans le cadre de notre évaluation pour notre classe, notre robot et notre vision. Les exigences du projet étaient d'inclure un ou plusieurs robots d'arbotix et d'effectuer une tâche.Proj
Double affichage à 7 segments contrôlé par potentiomètre dans CircuitPython - Démonstration de la persistance de la vision : 9 étapes (avec photos)
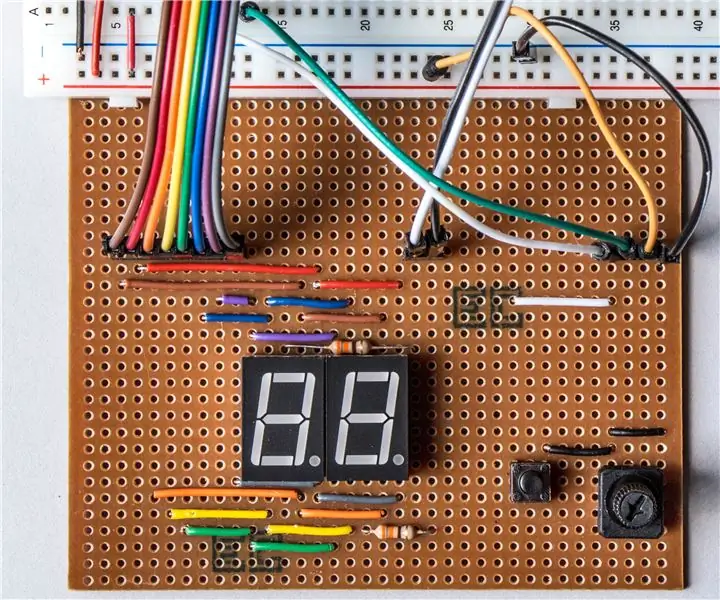
Deux écrans à 7 segments contrôlés par un potentiomètre dans CircuitPython - Démonstration de la persistance de la vision : ce projet utilise un potentiomètre pour contrôler l'affichage sur quelques écrans à LED à 7 segments (F5161AH). Lorsque le bouton du potentiomètre est tourné, le nombre affiché change dans la plage de 0 à 99. Une seule LED est allumée à tout moment, très brièvement, mais le
Mètre à ruban atmosphérique Arduino / Démonstration MS5611 GY63 GY86 : 4 étapes (avec photos)
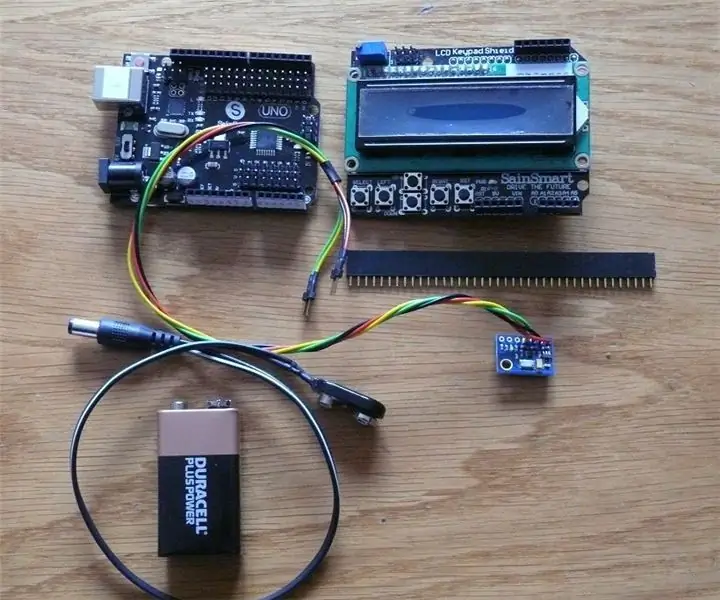
Mètre à ruban atmosphérique Arduino/Démonstration MS5611 GY63 GY86 : Il s'agit en réalité d'un baromètre/altimètre mais vous verrez la raison du titre en regardant la vidéo. Le capteur de pression MS5611, présent sur les cartes de dérivation Arduino GY63 et GY86, offre des performances étonnantes . Par une journée calme, il mesurera votre
Démonstration de moteur électrique : 5 étapes (avec photos)
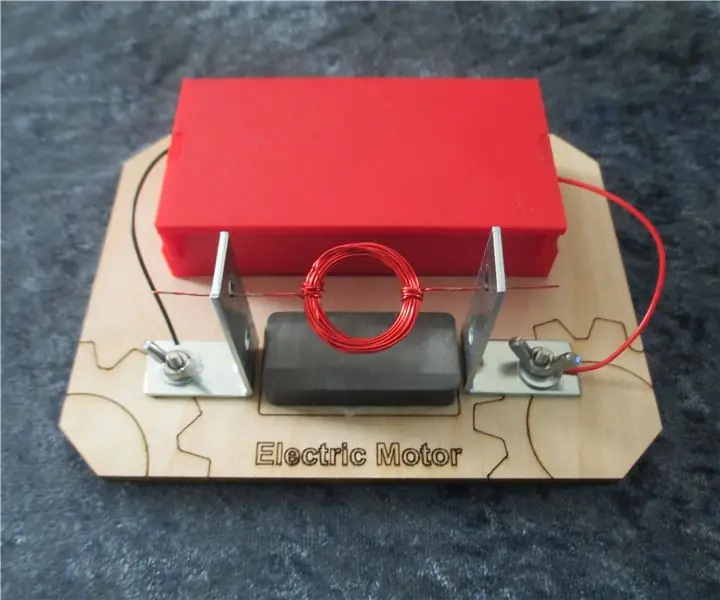
Démonstration de moteur électrique : Ce moteur électrique démontre les principes de base de l'électromagnétisme. Cette démo est simple à construire et ne prend qu'un week-end pour le faire. Liste des pièces: Imprimante 3DCoupe laser Fil électrique Fil magnétique (1) Aimant en céramique Papier de verre à grain moyen (2) Corne
